Blog Posts
DIY
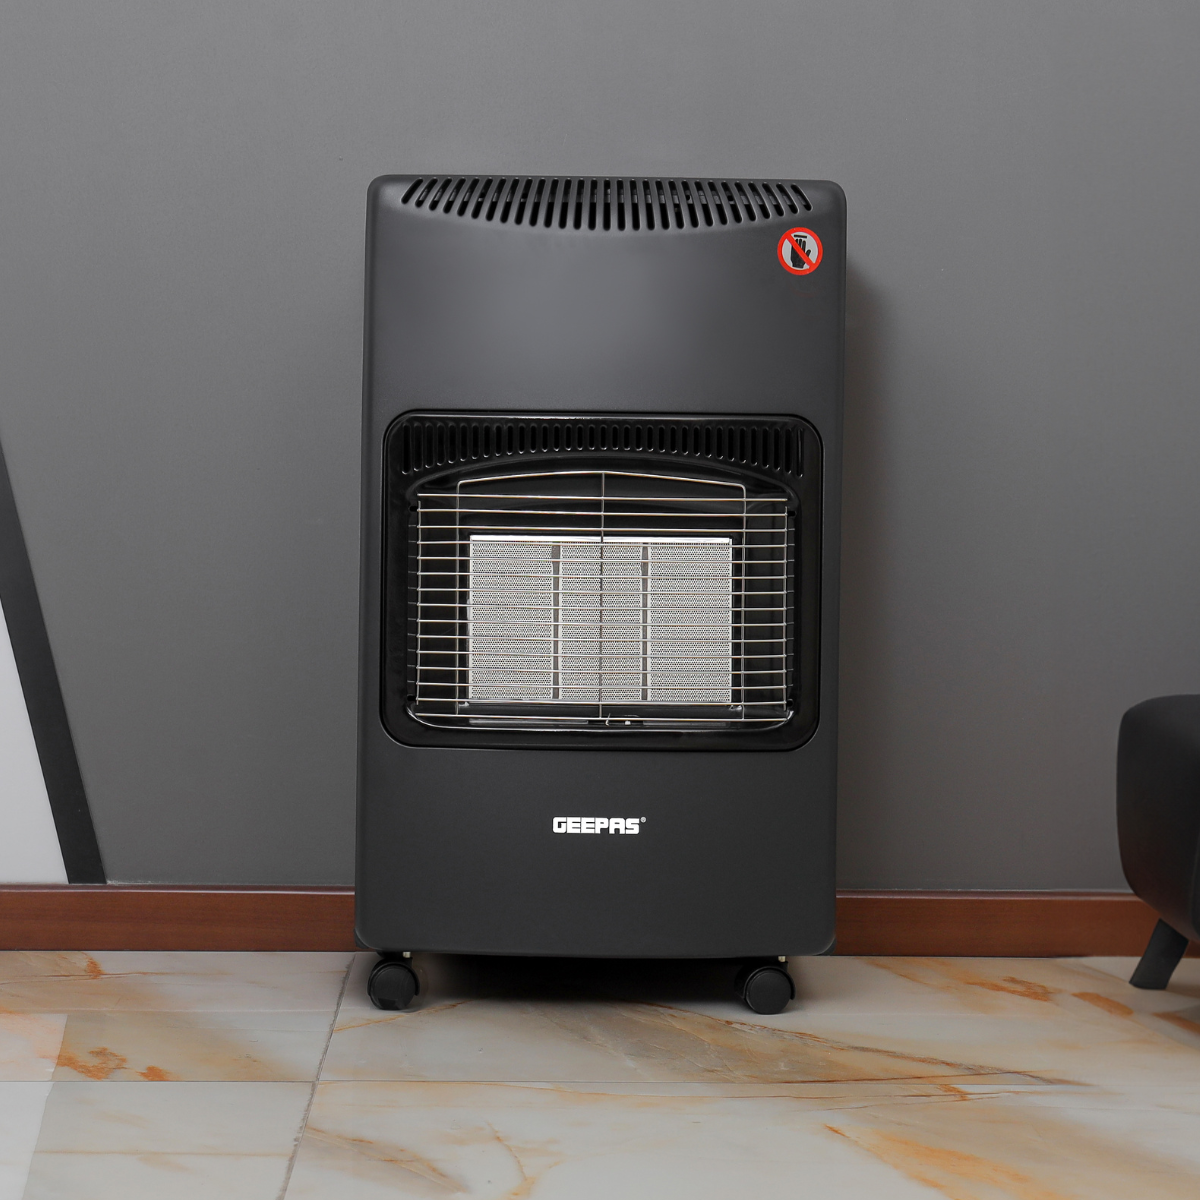
Gas Heaters vs Electric Heaters: A Comprehensive Comparison
When choosing a heating system for your home, you have a lot of factors to consider, such as cost, energy efficiency, safety, and portability. Two of the most popular types of heaters are gas heaters and electric heaters.
Microwave
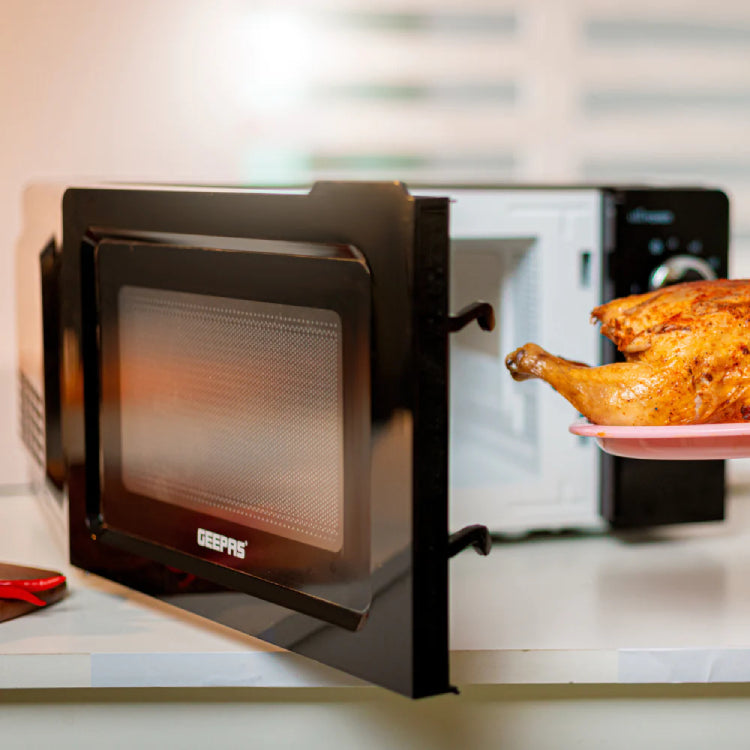
Microwave Hacks For Busy Cooks: Mastering Quick and Delicious Meals
In the hustle and bustle of our modern lives, the microwave has become an invaluable kitchen companion. It's not just for reheating leftovers or making popcorn; it can be a powerful tool for busy cooks looking to whip up fast and delicious meals.
home
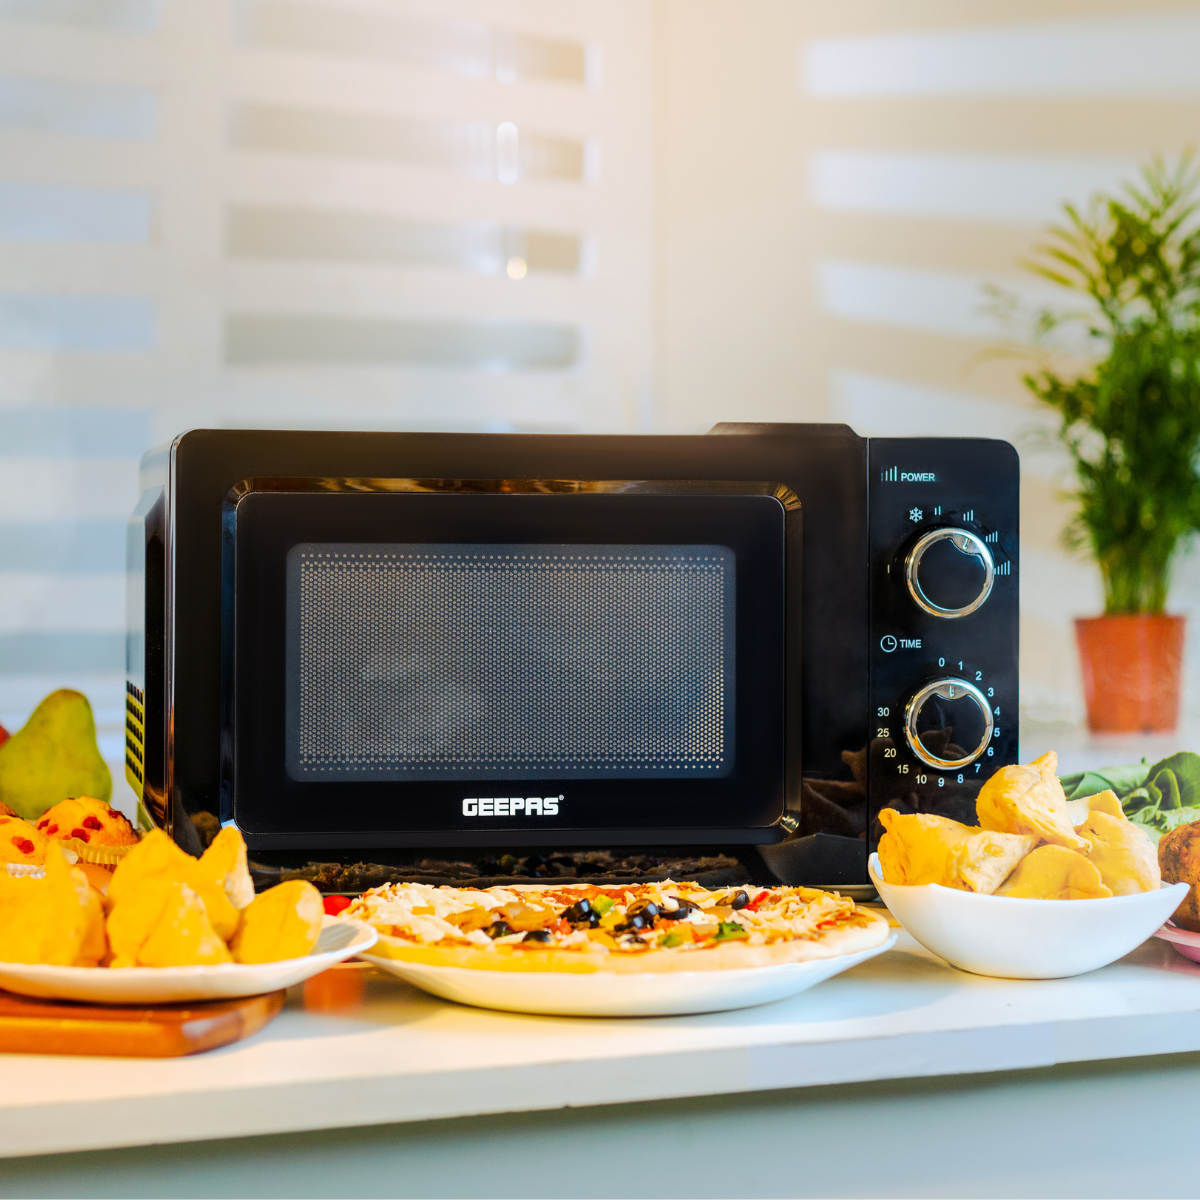
Microwave Oven vs Convection Microwave
The choice between a microwave oven and a convection microwave depends on your cooking preferences and needs. If your primarily reheat food, defrost items, and require speedy results, a microwave oven is an excellent choice. It's a kitchen workhorse designed for convenience.
Toaster
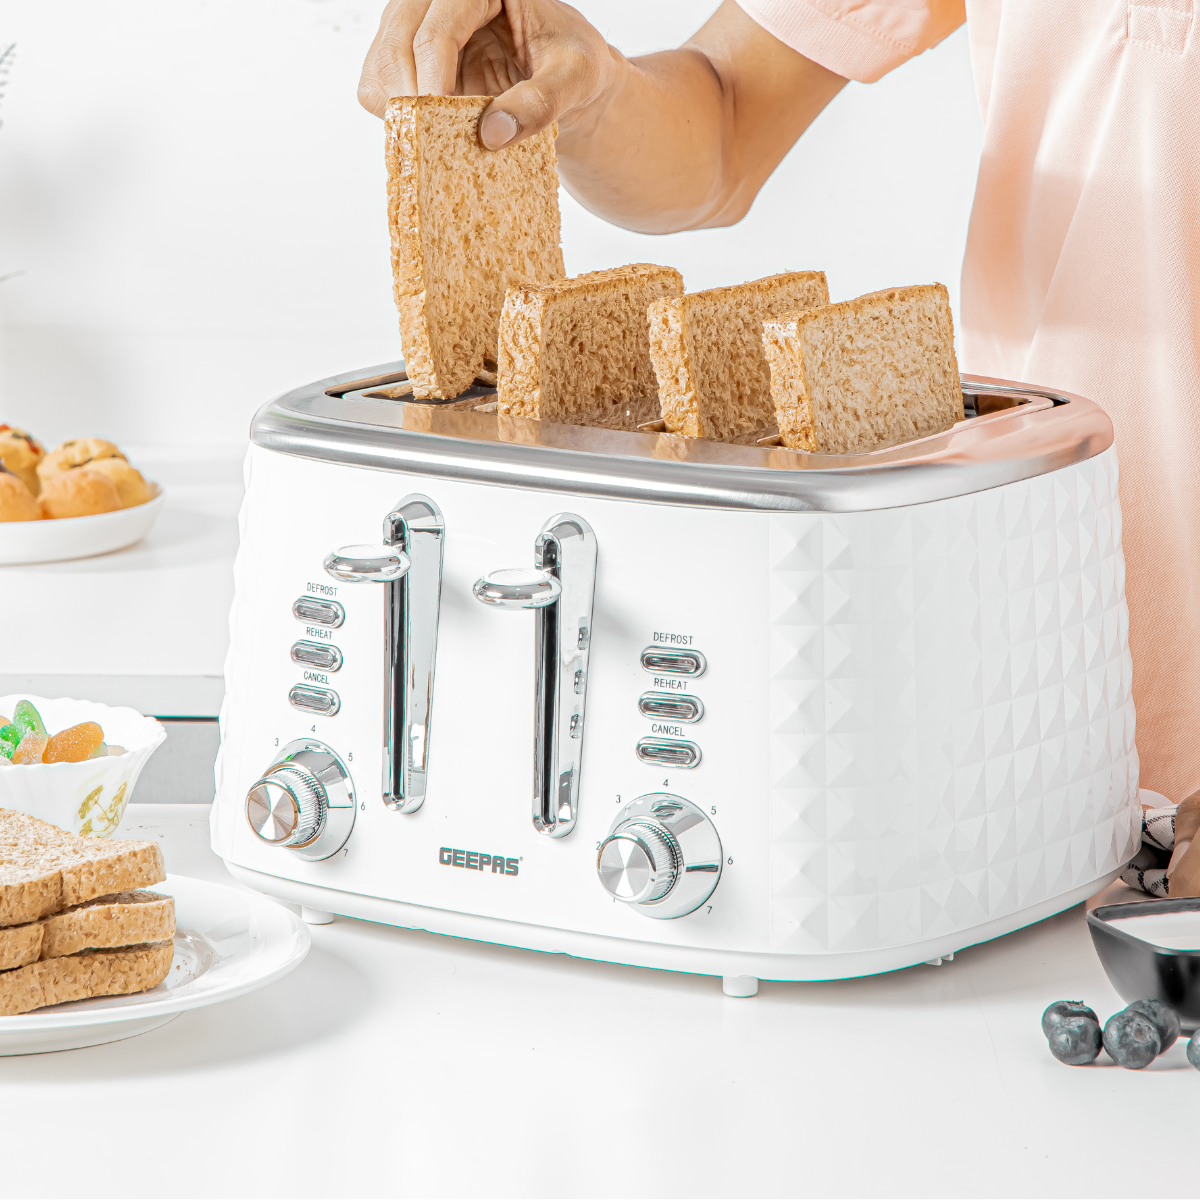
Toasters Unveiled: Different Types and Their Benefits
Consider the benefits of each type and how they align with your daily breakfast routine or culinary adventures. With the perfect toaster in your kitchen, you'll always enjoy delicious, evenly toasted bread, bagels, and more.
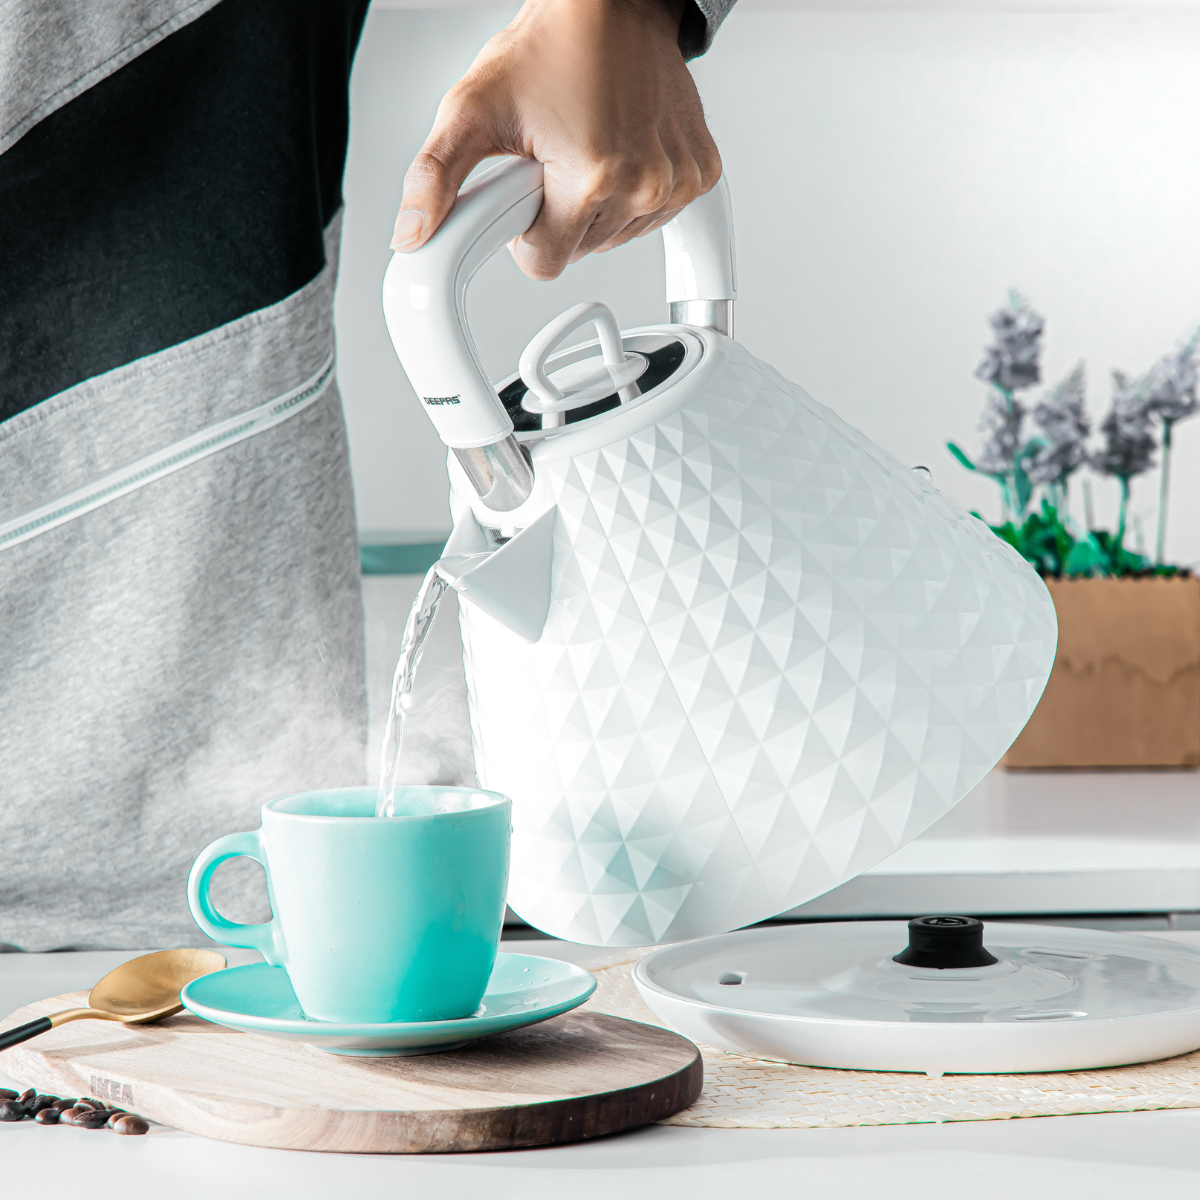
kettle
Electric Kettle Maintenance 101
Taking proper care of your electric kettle doesn't require a lot of effort, but it can significantly extend its lifespan and maintain the quality of the water it boils. Remember to clean it regularly, descale when needed, and avoid overboiling.

electric radiator
Are Oil Filled Radiator Heaters Energy Efficient?
As the chilly embrace of winter inches closer, the quest for an efficient heating solution intensifies. One contender in the world of home heating is the oil-filled radiator heater, celebrated for its unique design and reputation for energy efficiency.
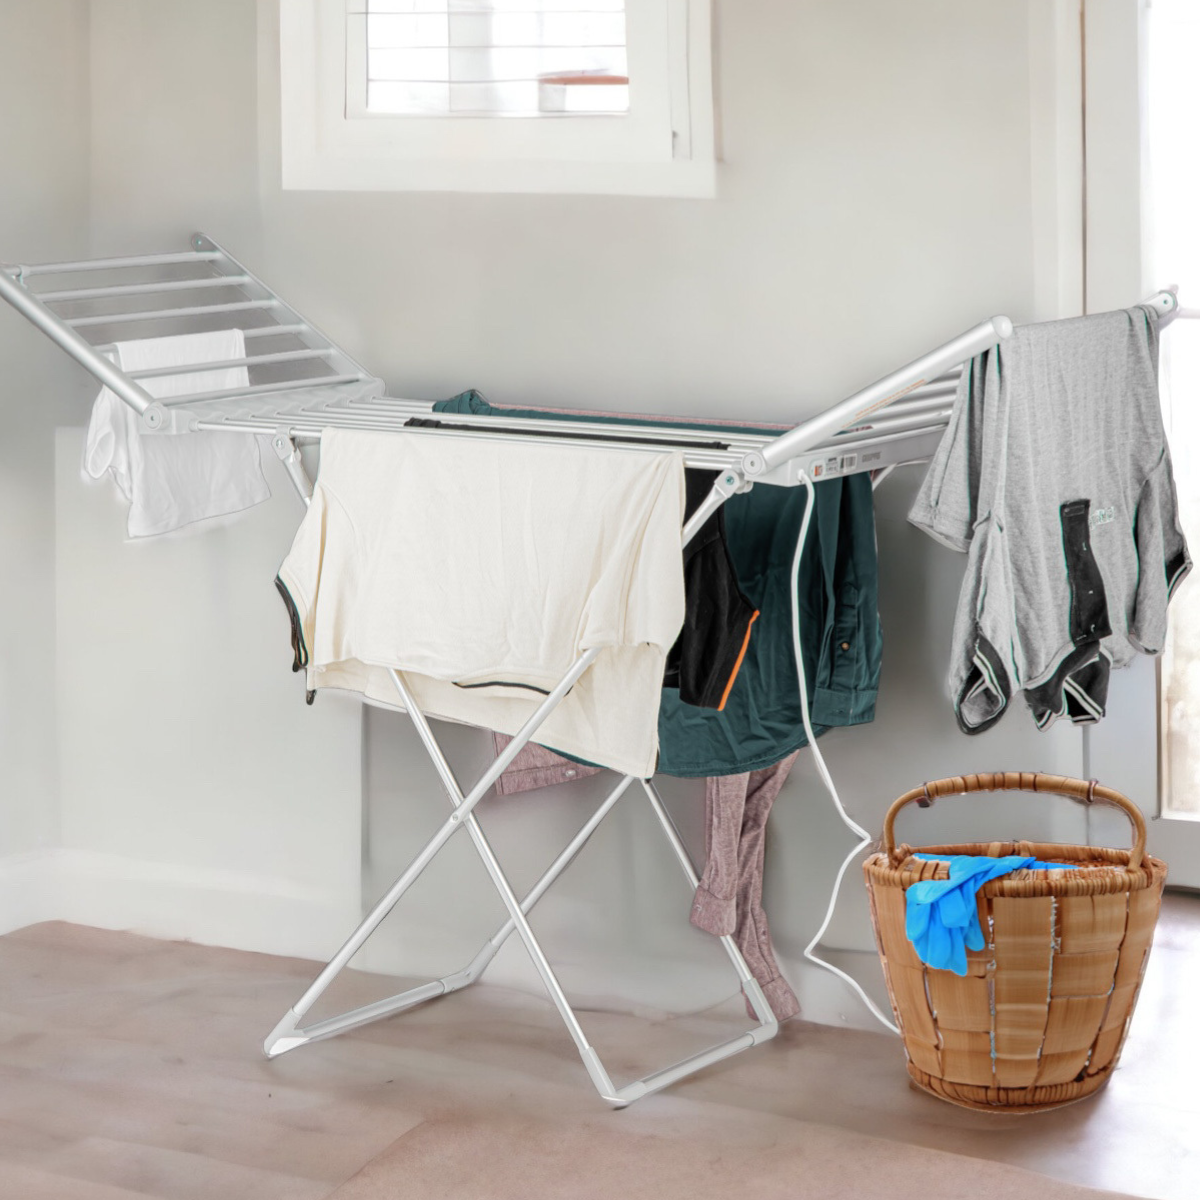
Heated Airer
Are Heated Clothes Airers Energy Efficient?
In our quest to create more energy-efficient homes, even the smallest appliances are coming under scrutiny. One such household item is the heated clothes airer. Traditional tumble dryers have often been criticized for their high energy consumption and environmental impact.
diy_&_home
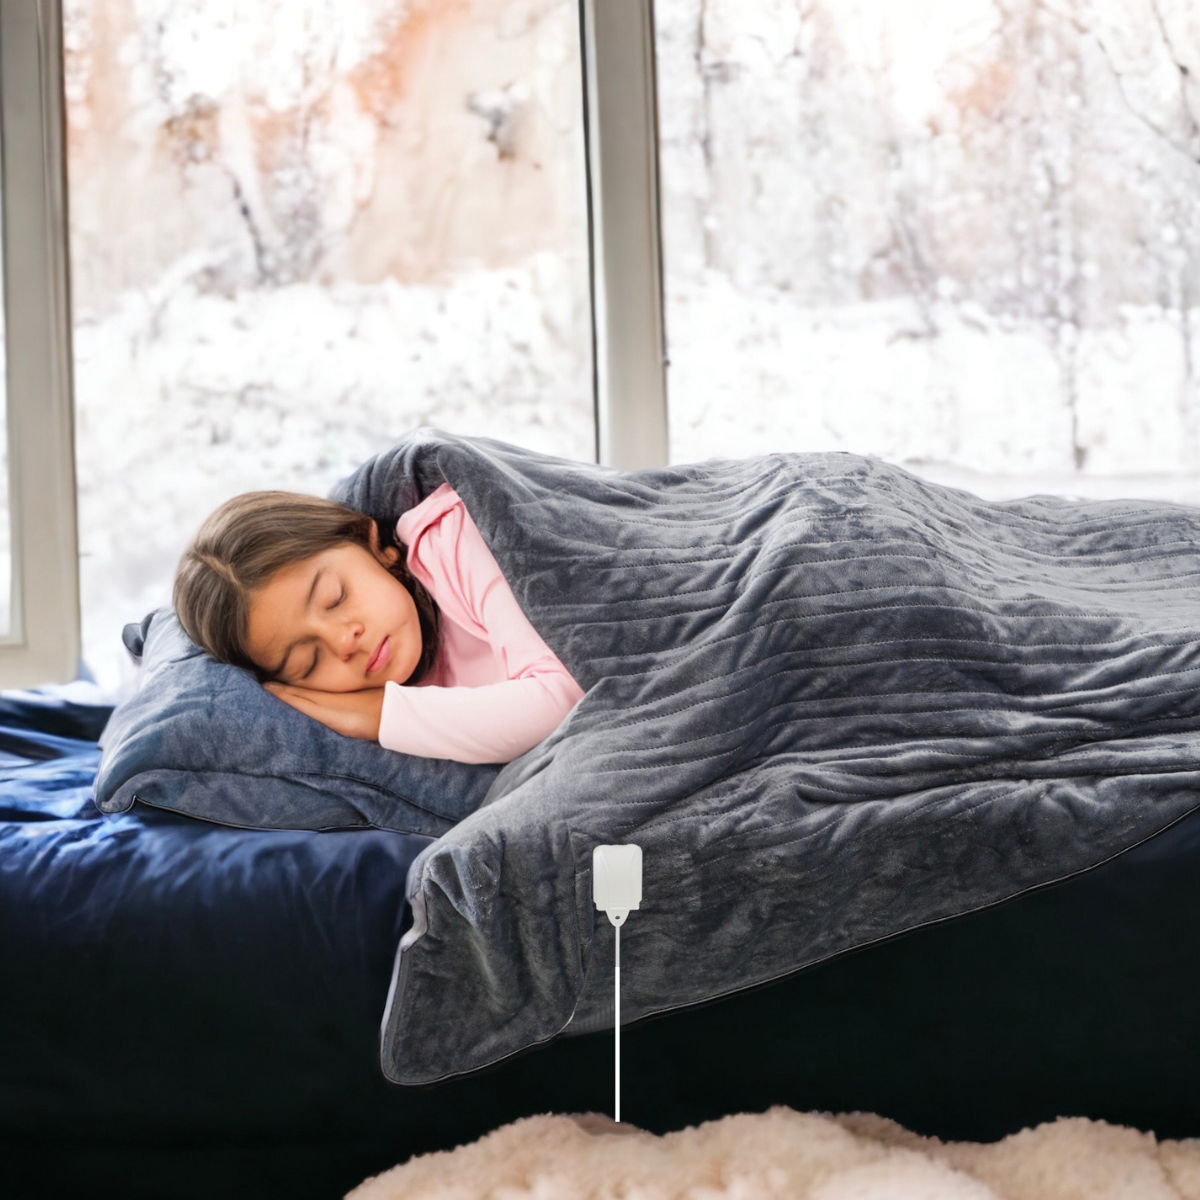
How Heated Electric Blankets Improve Sleep Quality
Electric blankets are not just about keeping you warm; they're about enhancing the quality of your sleep. By regulating temperature, promoting relaxation, and reducing physical discomfort, they create an environment conducive to restorative rest.

Camping
Gourmet Under the Stars: Mastering Easy Camping Meals
Remember, your camping experience is what you make it, and these easy camping meal ideas are here to help you savour every moment. Enjoy the fresh air, the camaraderie, and the delicious meals that bring everyone together around the campfire. Happy camping and bon appétit!