Blog Posts
healthy eating
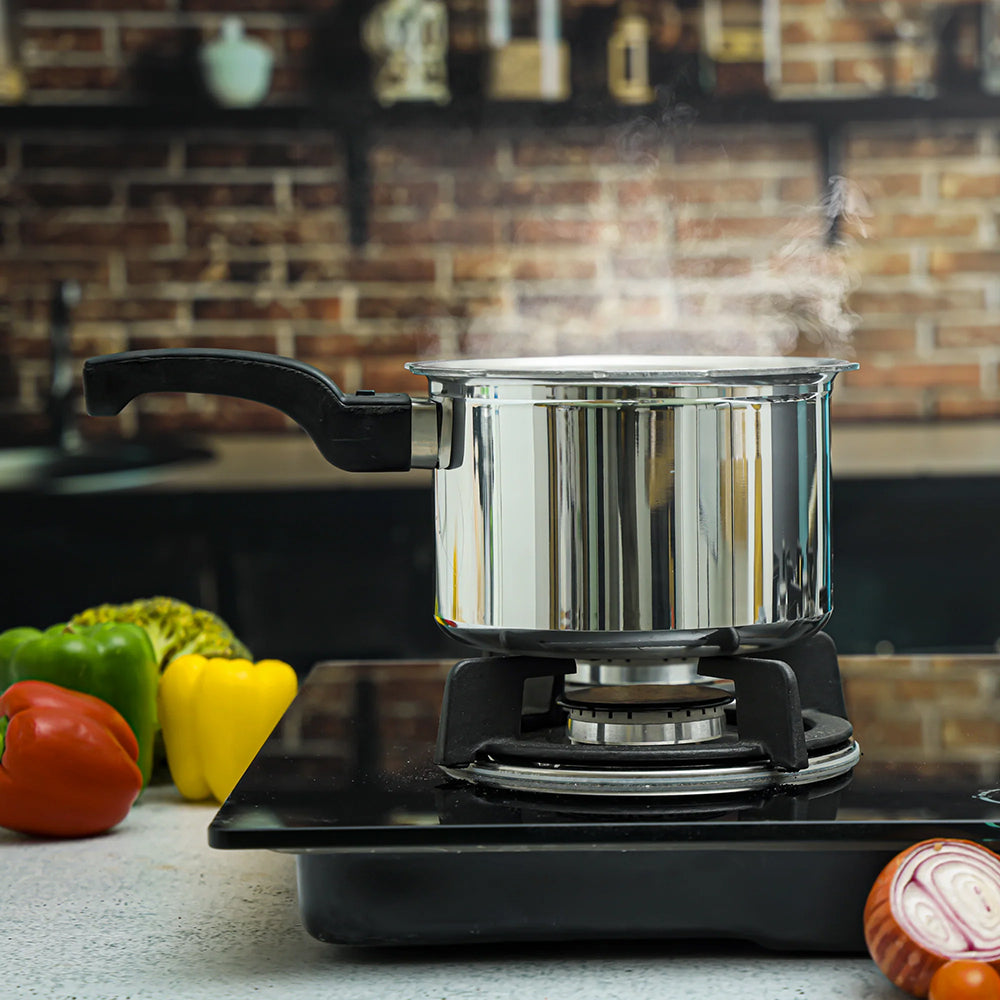
Mastering The Basics: A Beginners Guide To Pressure Cooking
Pressure cooking has gained immense popularity among home cooks due to its ability to save time, energy, and preserve the nutritional value of foods. For beginners, pressure cooking may seem intimidating, but fear not! This guide will walk you through the basics of pressure cooking.
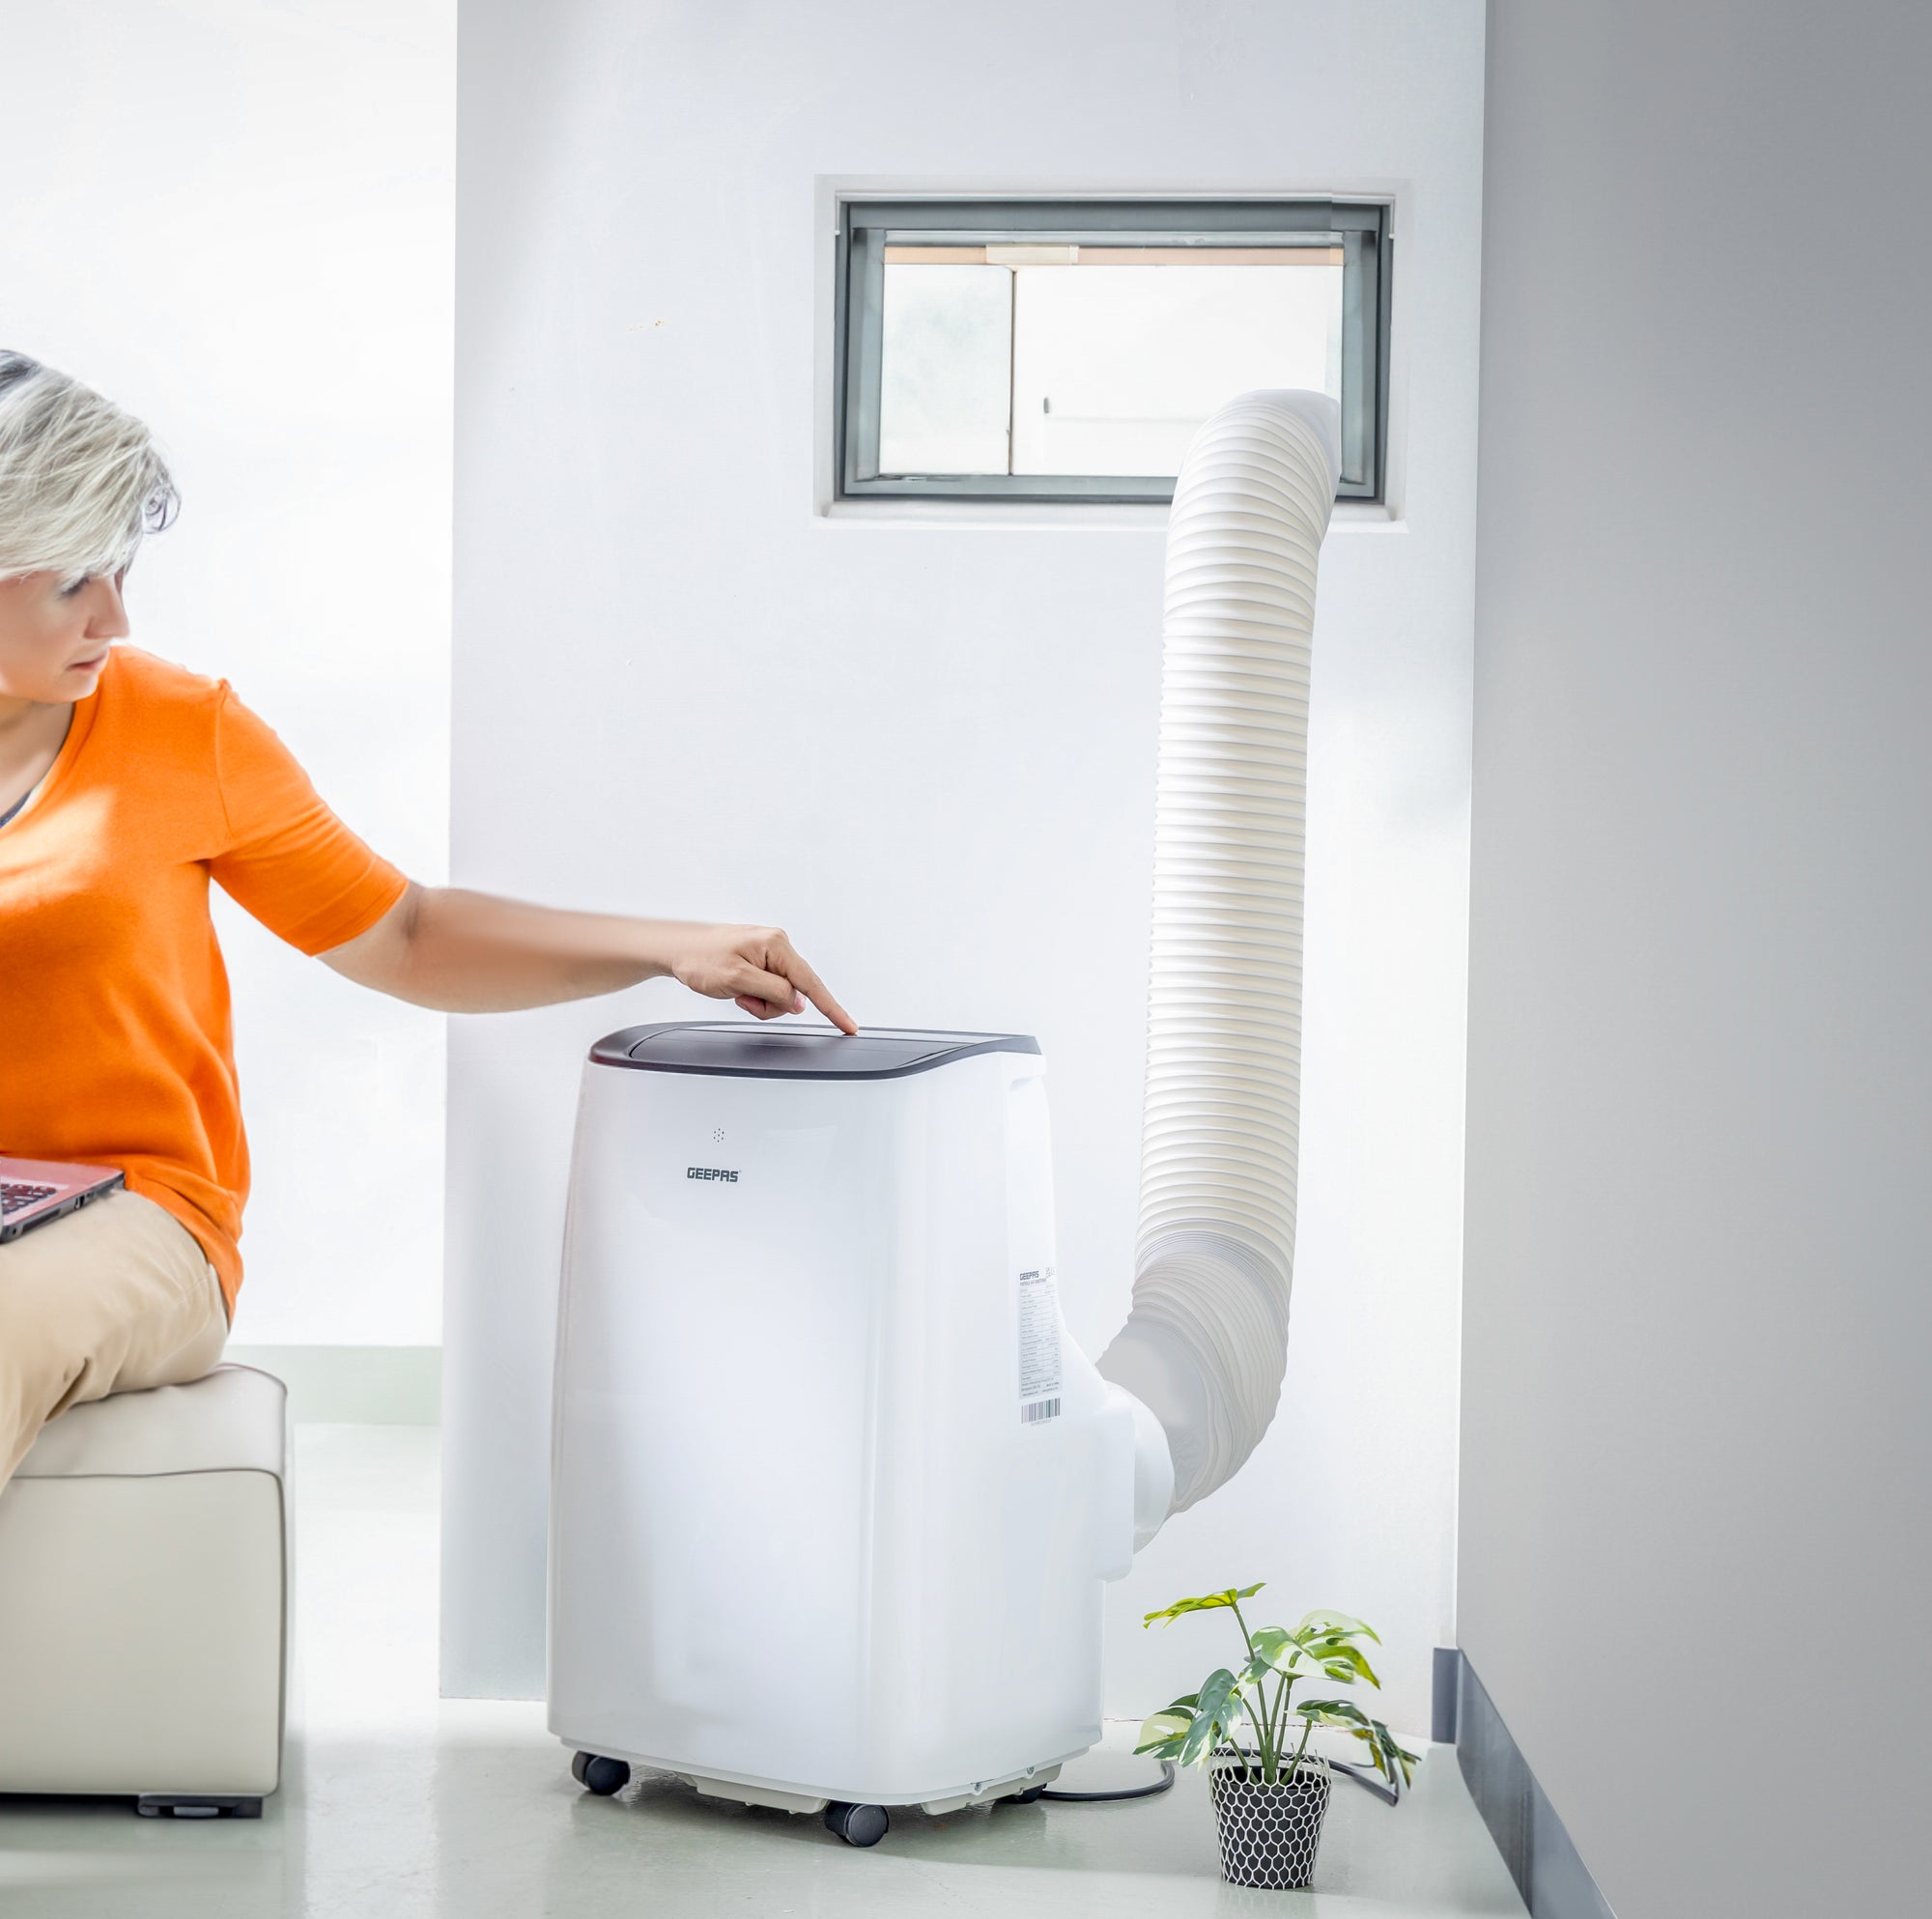
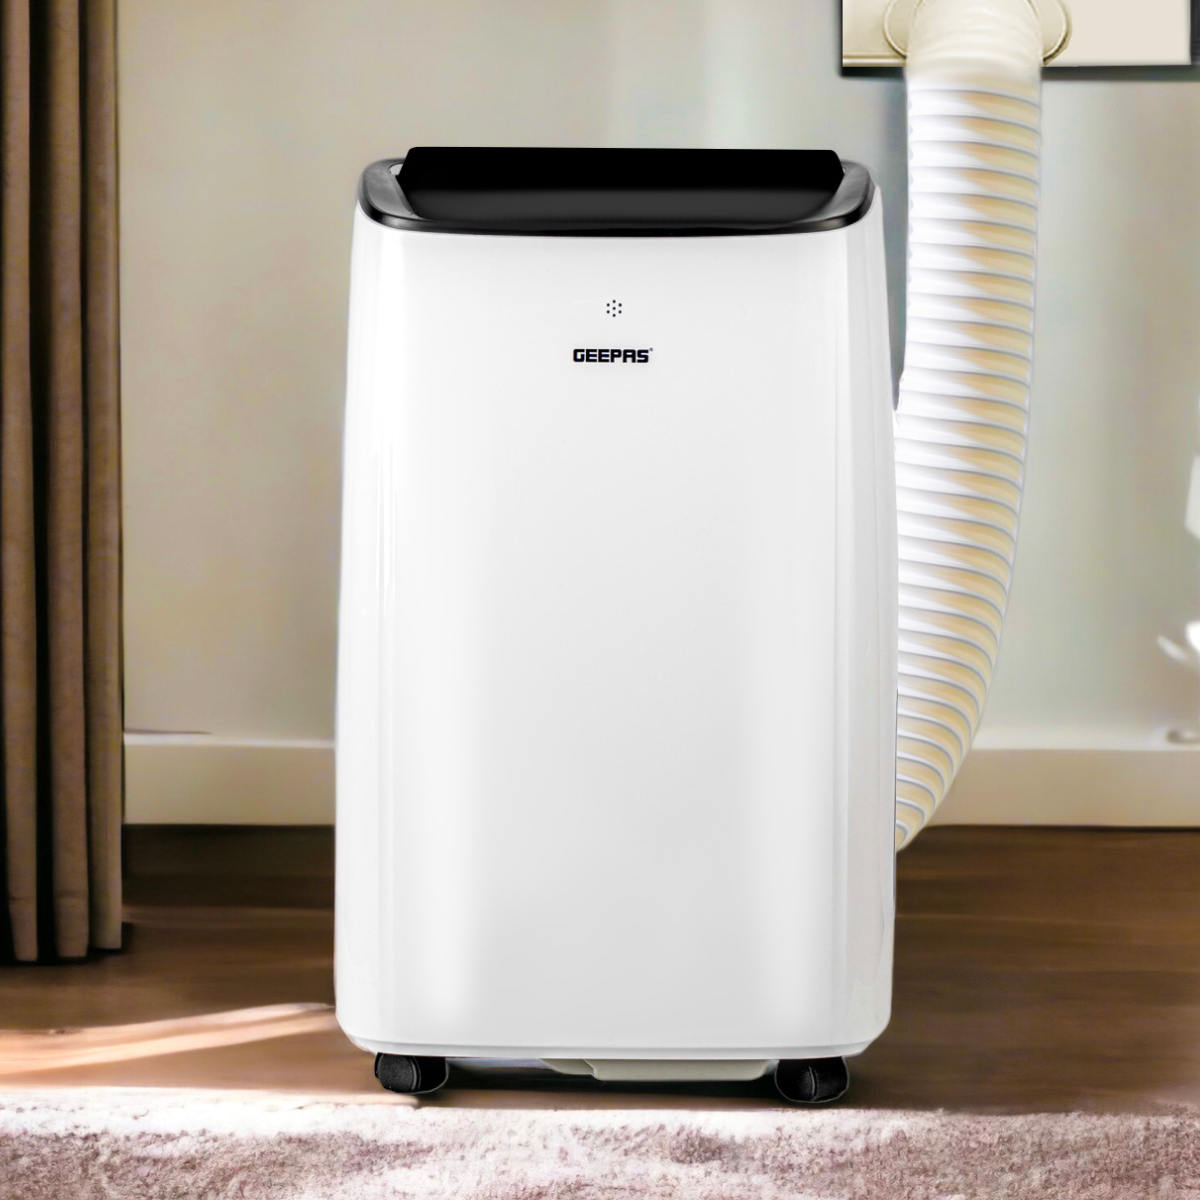
What Are The Benefits Of Portable Air Conditioning?
They offer the freedom to cool specific areas or rooms based on individual needs and preferences. Whether you're focusing on a home office during work hours or seeking night time comfort in the bedroom, portable air conditioning units provide targeted cooling where it's needed most.
Portable Air Conditioning
How Does Portable Air Conditioning Work?
Portable air conditioning refers to the compact cooling devices designed to provide localized cooling in various environments. In most cases this would be smaller air conditioning units that do not have to be installed and would be used in houses, offices, cafes and other similar places.
DIY
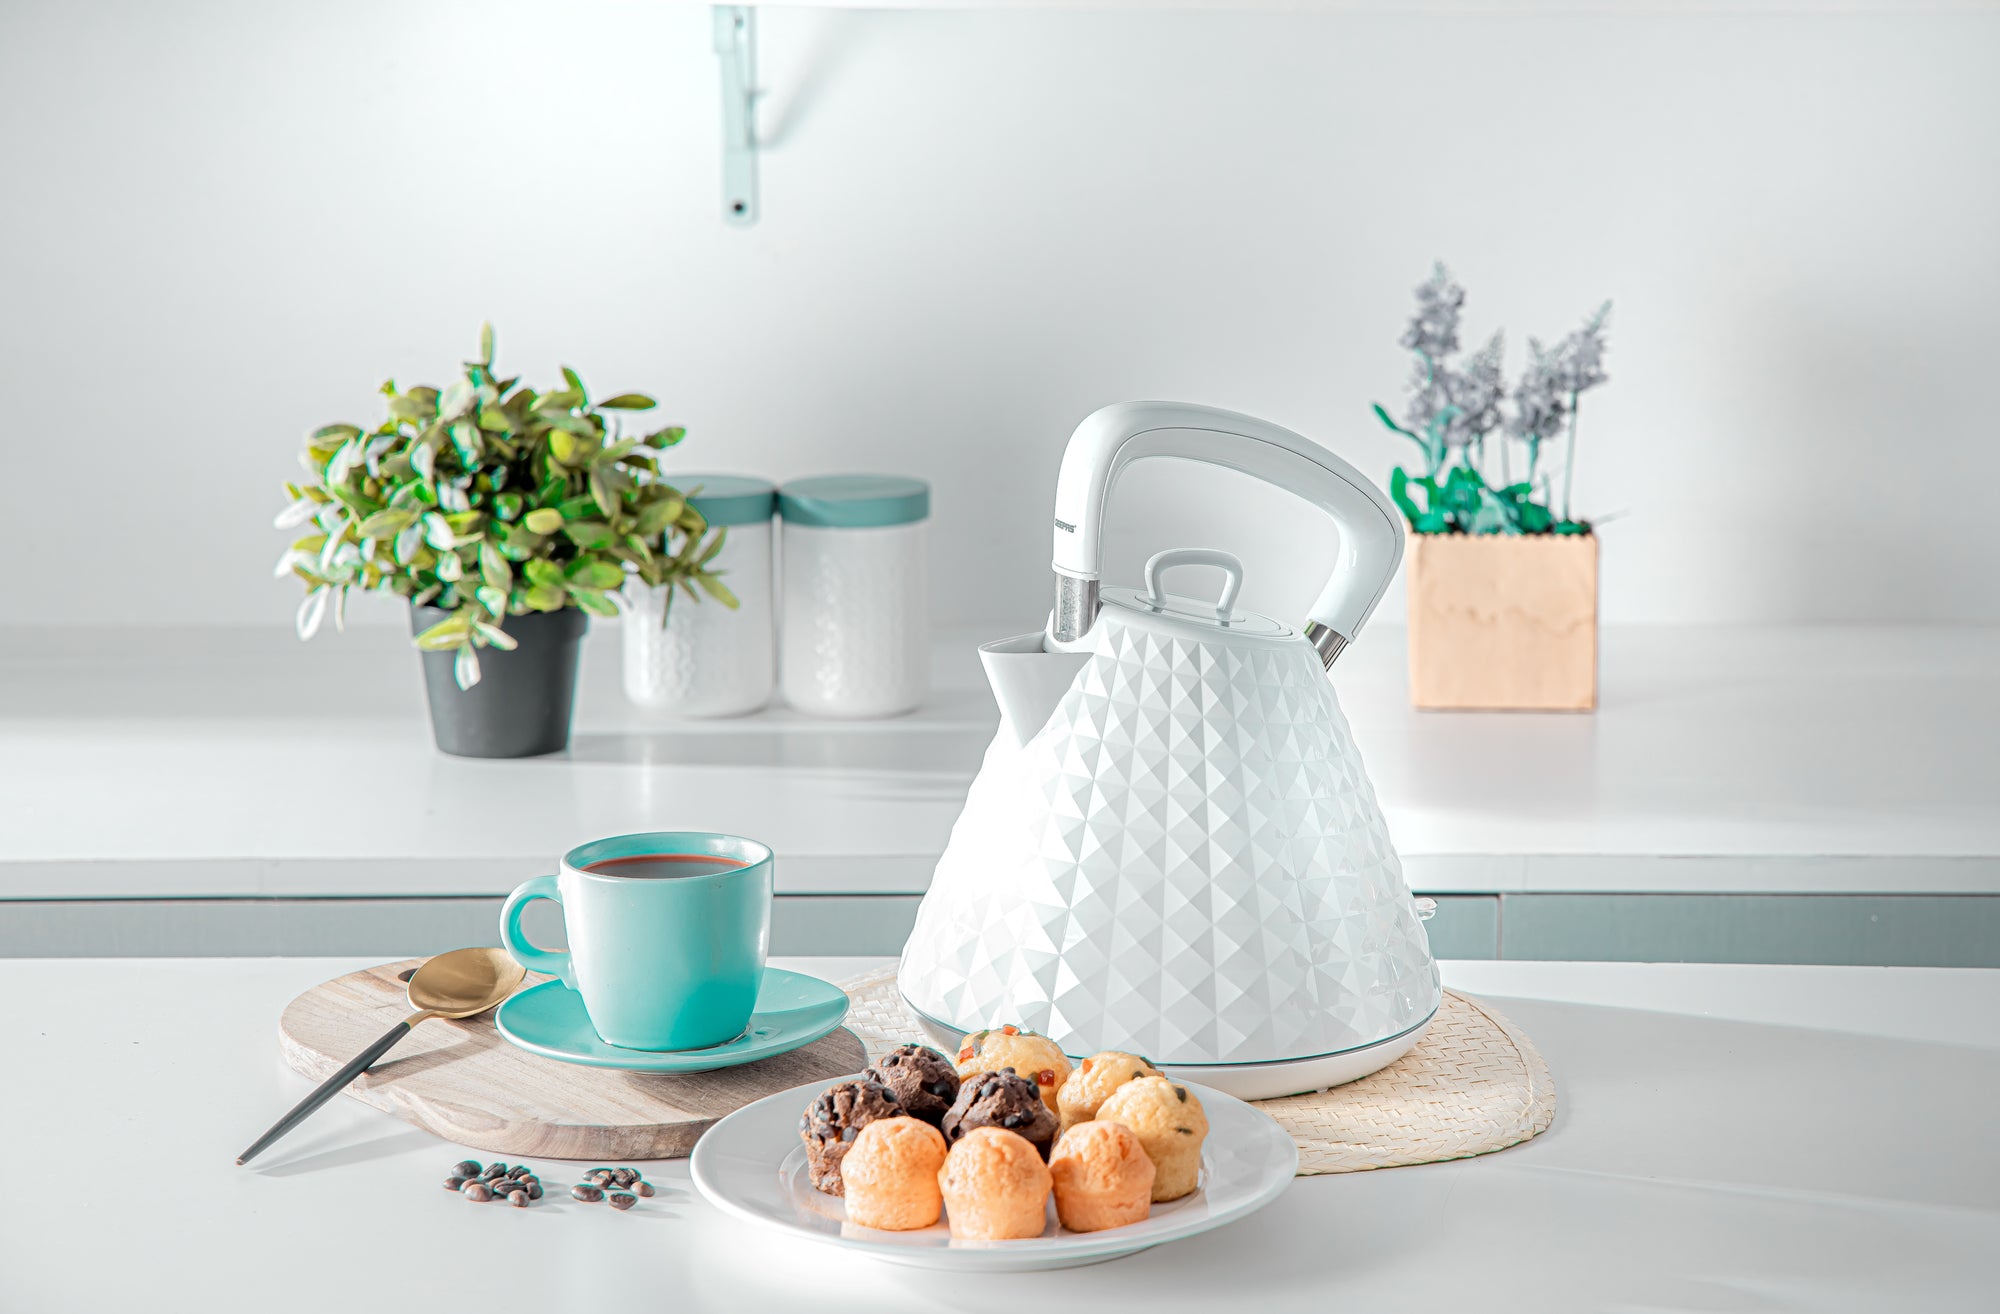
Kettle Hacks - Unlock The True Potential Of Your Kettle
From choosing the right kettle to experimenting with infusions, conserving energy, exploring multi-purpose uses, and even taking your kettle on your travels, there's a world of possibilities waiting to be explored.
essentials
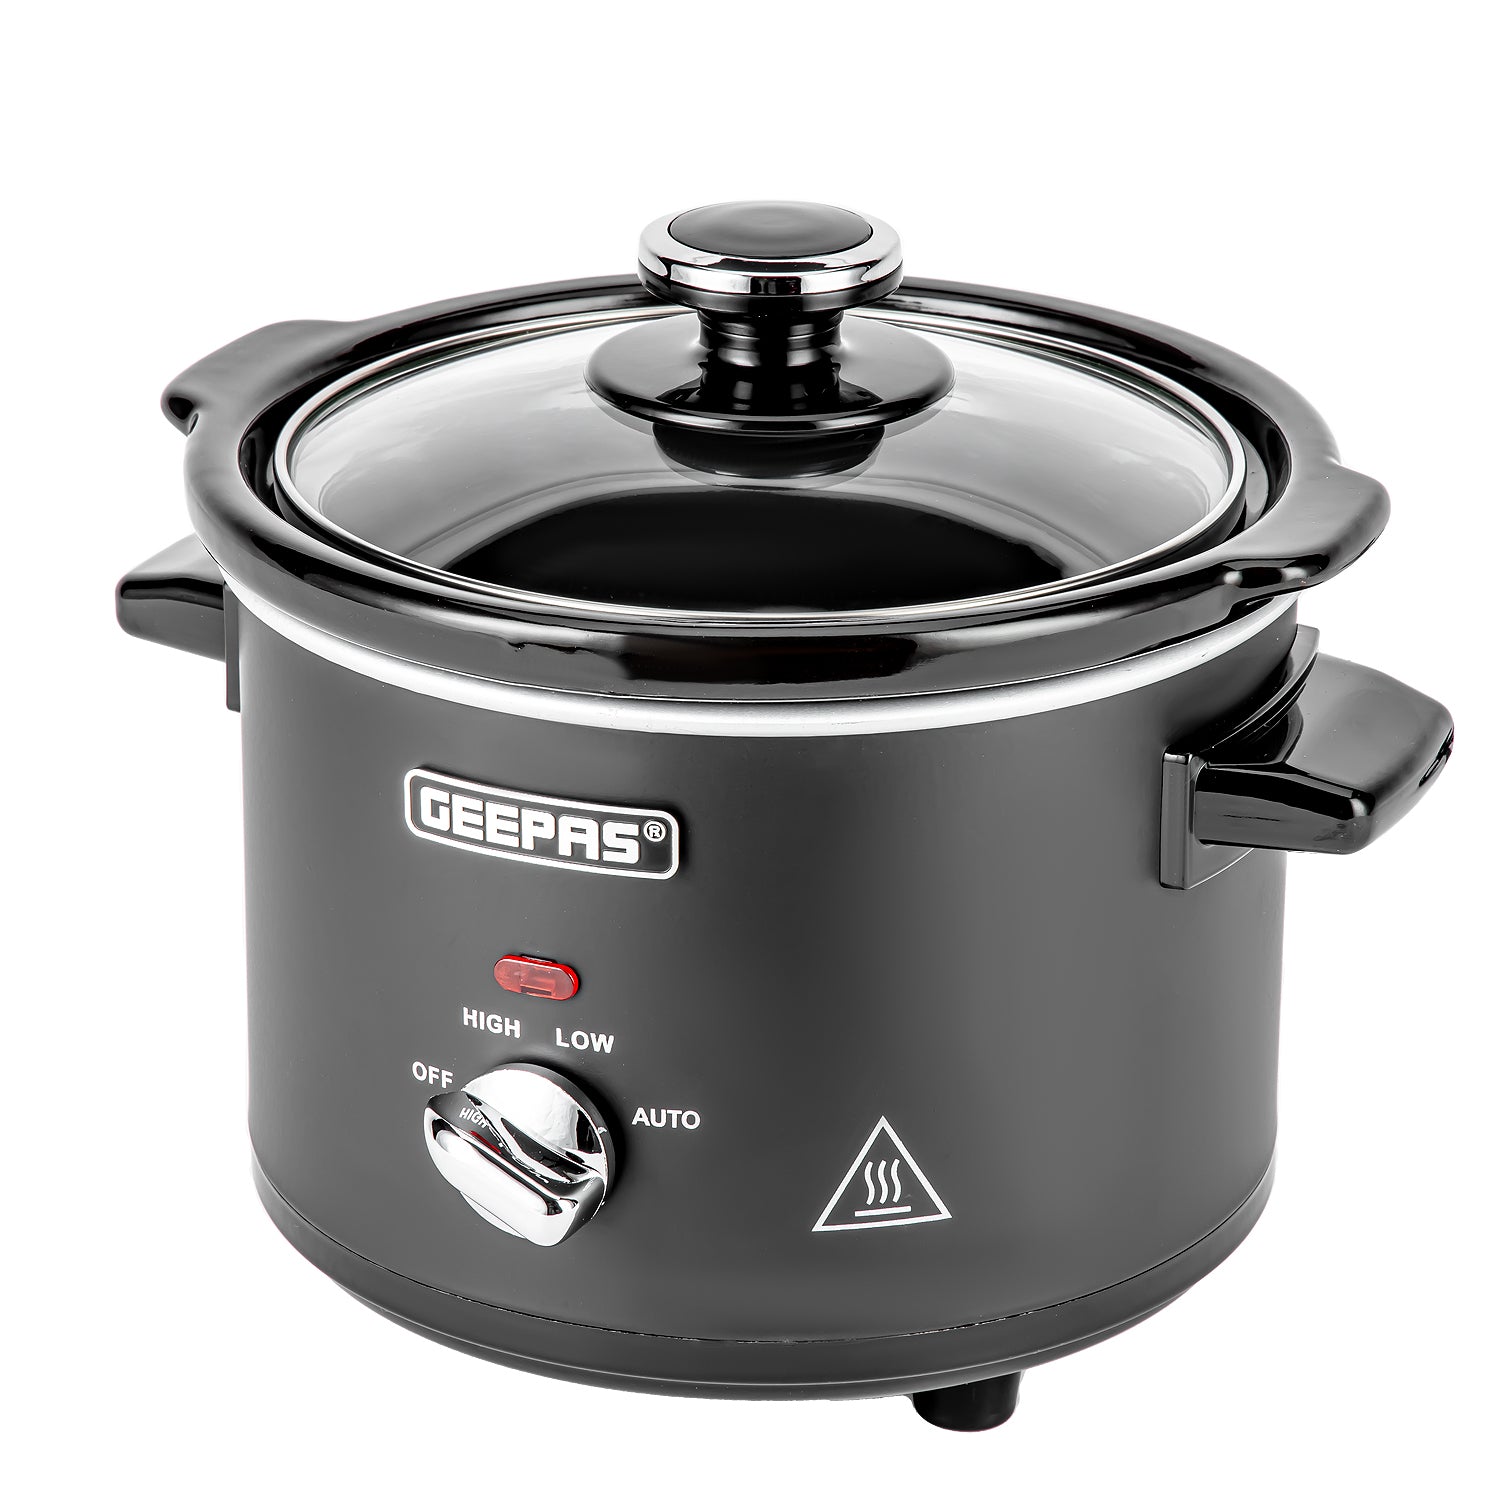
Are Slow Cookers Energy Efficient?
A slow cooker, also known as a crockpot, is a kitchen appliance designed to cook food at a low and consistent temperature over an extended period of time. It offers convenience and ease of use by allowing users to prepare meals in advance and leave them to cook slowly throughout the day.

5 Things To Do To Make Father's Day Special + Father's Day Gift Guide
Father's Day is a time to celebrate the dads in our lives. It's a day to show them how much we appreciate everything they do for us. But how do you make Father's Day special?
cleaning tips and tricks
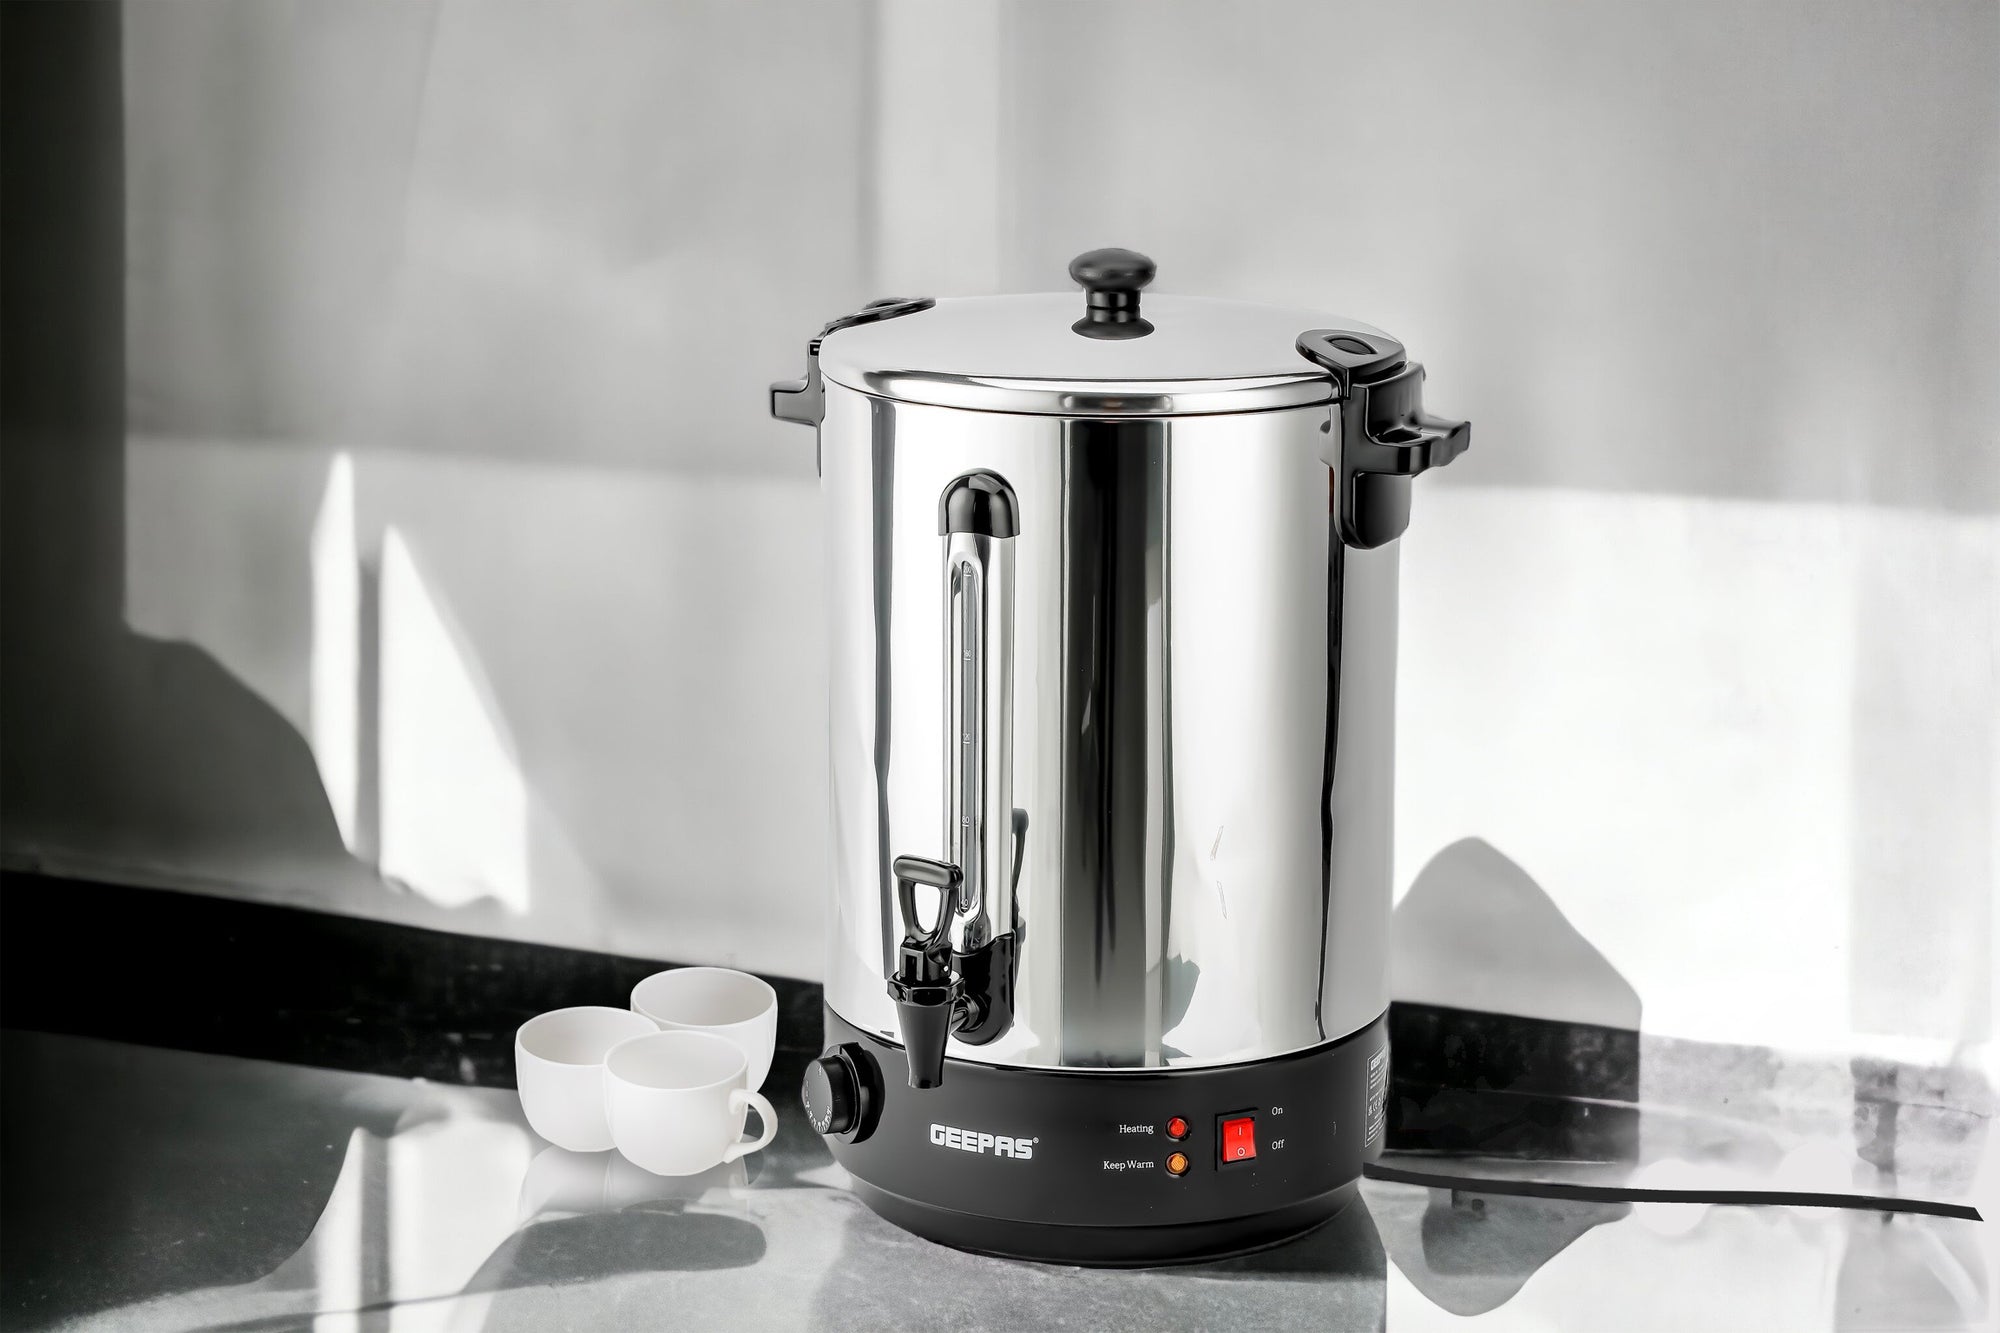
What Is A Electric Hot Water Urn: Your Guide To Electric Urns
Many of us might not be familiar with what an electric hot water urn is. In this article, we will go through what a hot water urn is, if a hot water urn is expensive to run, and how to clean your hot water urn.
cleaning tips and tricks
How To Clean An Electric Kettle
Electric kettles are a convenient way to heat your water for tea, coffee, and other hot beverages. However, they can also be a breeding ground for bacteria if they are not cleaned regularly. This blog post will provide you with a comprehensive guide on how to clean your electric kettle effectively and properly.
air cooler
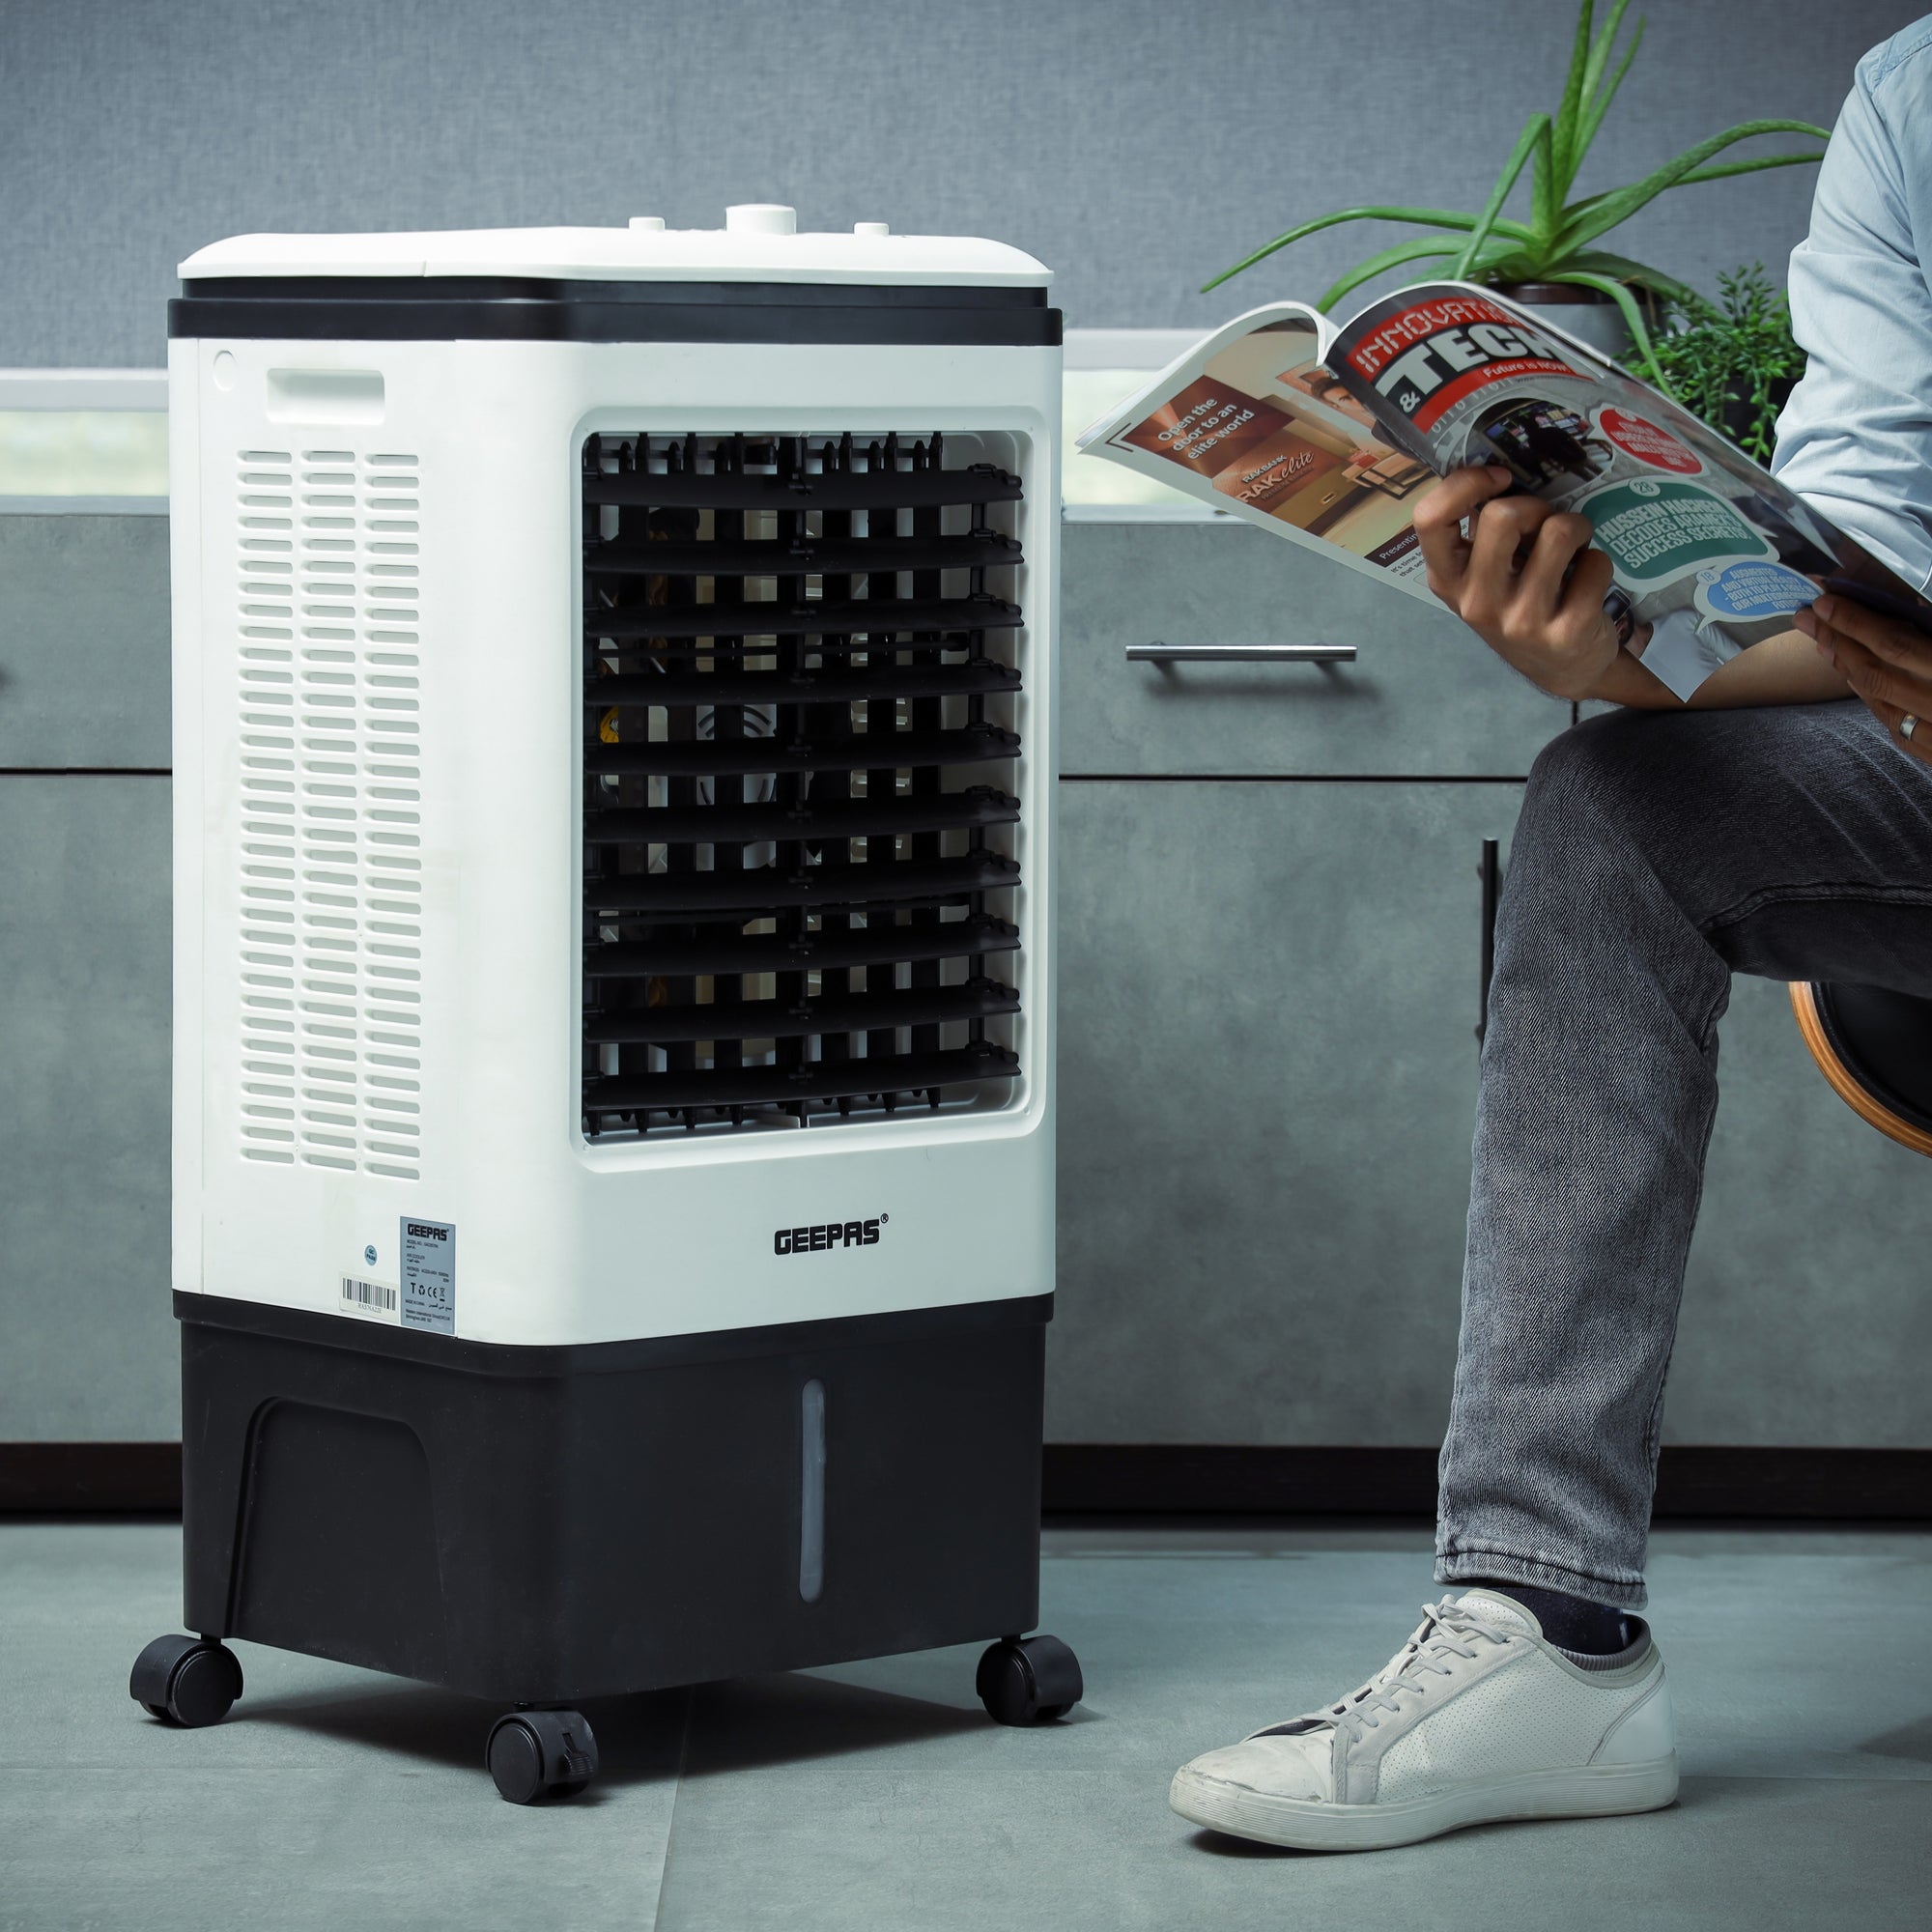
Everything You Need To Know About Air Coolers
Air coolers are a popular option for cooling your home or office during the hot summer months. They work by evaporating water, which absorbs heat from the air and cools it down. Air coolers are more energy-efficient than air conditioners, and they can be used in both indoor and outdoor settings.