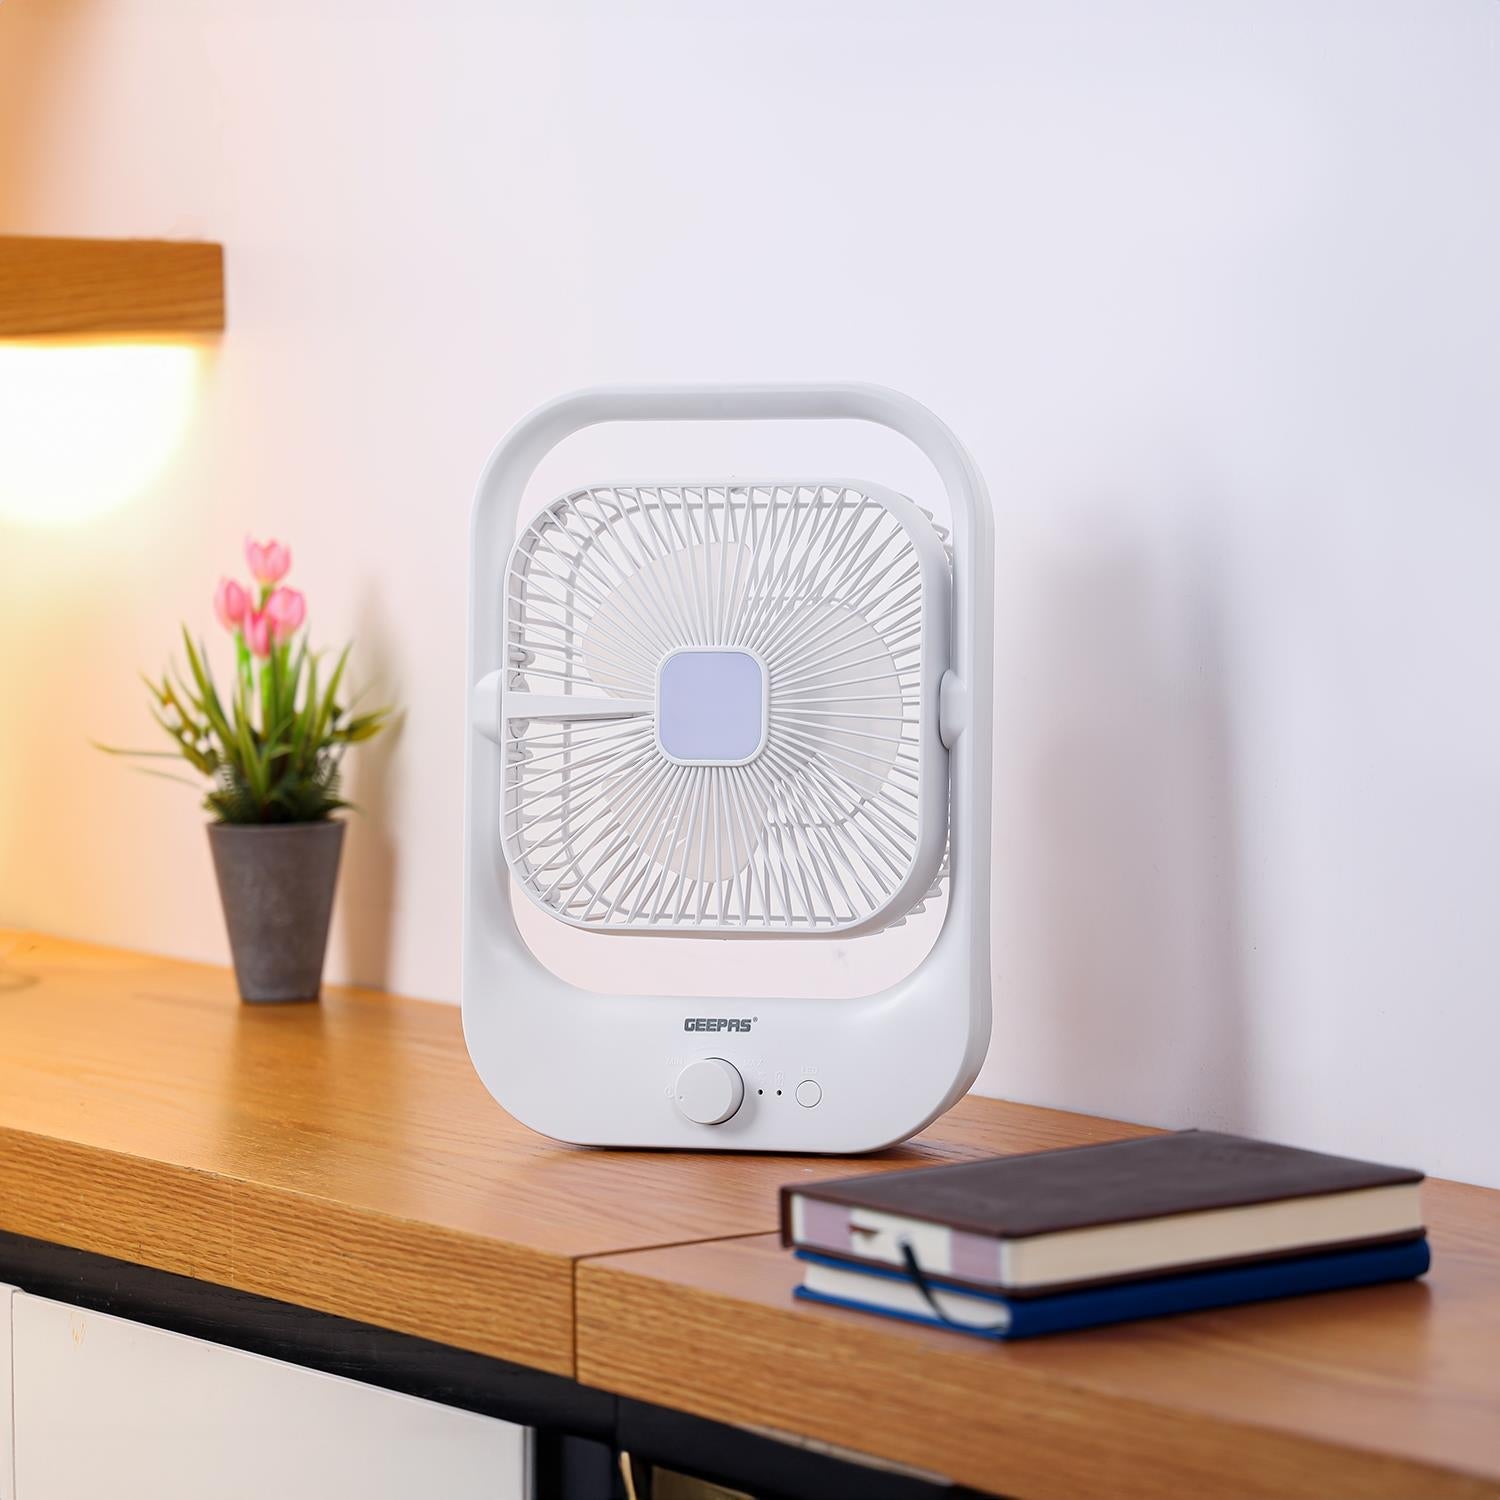
Maintaining a clean extractor fan is essential for ensuring optimal performance, extending its lifespan, and promoting a healthier environment in your kitchen or bathroom. Over time, extractor fans accumulate grease, dust, and other debris, which can hinder their efficiency and pose potential fire hazards. This guide provides detailed instructions on how to thoroughly clean your extractor fan, ensuring it operates effectively and safely.
Why Regular Cleaning Of Your Extractor Fan Is Crucial
Regular maintenance of your extractor fan offers several benefits:
- Enhanced Efficiency: A clean fan operates more effectively, removing steam, smoke, and odours from your kitchen or bathroom.
- Fire Safety: Accumulated grease and dust can be flammable. Regular cleaning reduces the risk of fire hazards.
- Improved Air Quality: A well-maintained fan helps in reducing airborne contaminants, promoting a healthier indoor environment.
- Prolonged Lifespan: Routine cleaning prevents wear and tear, extending the operational life of the fan.
How Often Should You Clean Your Extractor Fan?
The frequency of cleaning depends on usage:
Kitchen Extractor Fans - Clean every 2-4 weeks if you do a lot of frying or grilling, clean monthly if you do regular cooking.
Bathroom Extractor Fans - Clean every 3-6 months, depending on humidity levels and usage.
Tools and Supplies Needed
Before starting, gather the following items:
- Soft microfiber cloths
- Vacuum cleaner with brush attachment
- Warm soapy water (using mild dish soap)
- White vinegar or baking soda (for stubborn grease)
- Non-abrasive sponge or brush
- Screwdriver (if disassembly is required)
- Rubber gloves
- Protective eyewear (optional)
Step-By-Step Guide To Cleaning Your Extractor Fan
Step 1: Safety First
- Ensure the fan is turned off and unplugged from the power source.
- If the fan is hardwired, switch off the circuit breaker to eliminate any electrical hazards.
Step 2: Remove The Cover or Hood
- Use a screwdriver to carefully remove the screws securing the fan cover or hood.
- Gently detach the cover and set it aside.
Step 3: Clean The Cover or Hood
- Submerge the cover in warm, soapy water.
- For stubborn grease, add a cup of white vinegar or a tablespoon of baking soda to the water.
- Allow it to soak for 10-15 minutes.
- Use a non-abrasive sponge to scrub away any remaining grime.
- Rinse thoroughly and let it air dry completely.
Step 4: Clean The Fan Blades
- Using a vacuum cleaner with a brush attachment, gently remove loose dust and debris from the blades.
- Dampen a microfiber cloth with warm, soapy water and wipe each blade carefully.
- For stubborn spots, apply a mixture of baking soda and water, then wipe clean.
- Ensure the blades are completely dry before reassembly.
Step 5: Clean The Filters (if your extractor fan has removable filters)
- Remove them and soak in hot, soapy water with a cup of white vinegar for 15-20 minutes.
- Scrub gently with a brush to remove grease buildup.
- Rinse thoroughly and allow to air dry completely before reinstalling.
- For non-removable filters - Wipe down with a cloth dampened in a vinegar-water solution. Use a soft brush to reach crevices and remove debris.
Step 6: Clean The Ductwork (if accessible)
- Inspect the duct leading from the fan to the exterior for blockages or buildup.
- Use a vacuum with a hose attachment to remove any debris.
- Note: If the ductwork is extensive or heavily soiled, consider hiring a professional for thorough cleaning.
Step 7: Wipe Down The Surrounding areas
- Clean the area around the fan, including walls and ceilings, to remove any grease or dust that may have accumulated.
- Use a mild detergent solution to prevent damage to paint or finishes.
Step 8: Reassemble The Extractor Fan
- Once all components are completely dry, reattach the filters and cover or hood.
- Secure all screws tightly to ensure the fan operates without vibration or noise.
Step 9: Restore Power and Test
- Plug the fan back in or switch on the circuit breaker.
- Turn on the fan to ensure it operates smoothly and quietly.
Additional Tips For Maintaining Your Extractor Fan
- Regular Wiping: After heavy cooking sessions, especially those involving frying, wipe down the exterior of the fan to prevent grease buildup.
- Filter Replacement: Some filters, especially carbon filters in recirculating hoods, need periodic replacement. Refer to the manufacturer's guidelines for specifics.
- Use Cooking Lids: Cover pots and pans to minimise the amount of grease and moisture reaching the fan.
FAQs About Cleaning Extractor Fans
1. Can I clean an extractor fan without removing it from the wall or ceiling?
Yes, you can clean many parts of the extractor fan (like the exterior, filter, and blades) without removing the entire unit. However, deep cleaning may require disassembly for thorough maintenance.
2. What is the best cleaner for greasy extractor fans?
A solution of warm water, dish soap, and white vinegar works well for dissolving grease. For stubborn buildup, baking soda can be added for extra scrubbing power.
3. Is it safe to clean an extractor fan with water?
Yes, but only when the fan is completely unplugged or switched off from the mains. Avoid getting water on the motor or electrical parts. Always dry parts thoroughly before reassembling.
4. How do I know if my extractor fan needs cleaning?
Signs include loud operation, reduced airflow, visible dust or grease buildup, and lingering odours after cooking.
5. What happens if I don't clean my extractor fan regularly?
Neglecting maintenance can lead to decreased performance, higher energy consumption, potential fire hazards, and poor indoor air quality.
Final Thoughts
Cleaning your extractor fan isn't just about hygiene - it's a critical step to maintain performance, extend its lifespan, and keep your kitchen or bathroom air fresh and clean.
Whether you have a kitchen extractor hood, a bathroom ceiling fan, or a wall-mounted extractor, following the steps above will ensure your appliance works efficiently year-round.
Make extractor fan maintenance part of your regular cleaning routine, and you'll enjoy better air circulation, improved energy efficiency, and a healthier home environment. With the right tools and a bit of effort, keeping your extractor fan spotless and functioning at its best is easier than ever.


